Dec 22
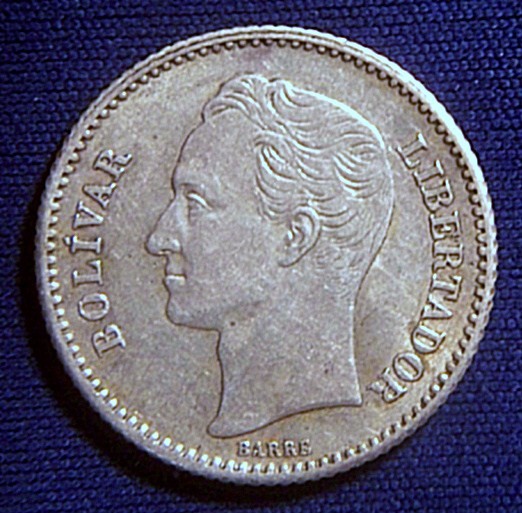
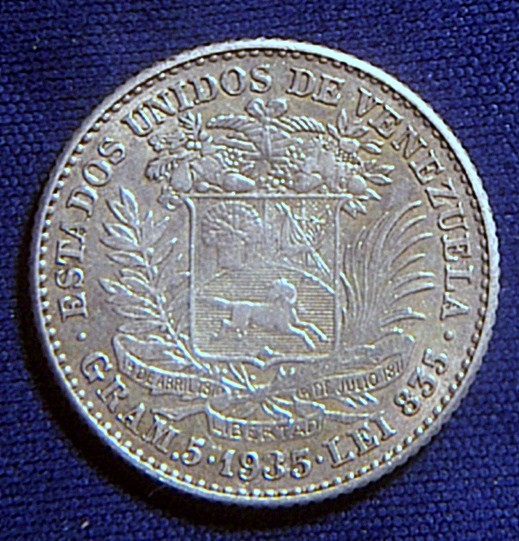
So you've taken a picture of your coins and they look really good. You finally avoided the glare and there is no blur. Even so, your silver coin looks gold or tan in the picture. It happens to the best of us. Luckily if you are using Windows Vista, there's a quick trick you can do to fix that and often shrink the file size which is an added bonus if you're uploading pictures onto a website like CoinBrag.
For most users, if you go into a file folder on your computer and double click on an image file, it will likely be opened with Windows Photo Gallery. It comes with Windows and by default is the program used to "preview" an image. Once you open a file in Windows Photo Gallery, you'll see some options above the photo. One of those is "Fix" and when you click that a menu pops up with options on the right side of the window. Right at the top is "auto adjust." Click it and watch the image change. There is an undo button at the bottom (or press ctrl+z) if you don't like the results. To save you either close Windows Photo Gallery or if there are multiple images in the folder, you can use the navigation buttons below the image to preview another image and when you switch to another image, Windows Photo Gallery will save your changes to the picture.
Here's a sample of what it can do:
I'm sure many of you were already aware of this feature as I've been using it for the last year, but I was recently inspired to write this blurb up. I'm told that Windows 7 comes with a limited version of Windows Photo Gallery but the easy editing features can be downloaded for free as Windows Live Photo Gallery.
Special thanks go eBay seller foundtreasures2010 for allowing me to tinker with and use his photos. You can find the actual coin pictured here:1 Bolivar on eBay .
.
For most users, if you go into a file folder on your computer and double click on an image file, it will likely be opened with Windows Photo Gallery. It comes with Windows and by default is the program used to "preview" an image. Once you open a file in Windows Photo Gallery, you'll see some options above the photo. One of those is "Fix" and when you click that a menu pops up with options on the right side of the window. Right at the top is "auto adjust." Click it and watch the image change. There is an undo button at the bottom (or press ctrl+z) if you don't like the results. To save you either close Windows Photo Gallery or if there are multiple images in the folder, you can use the navigation buttons below the image to preview another image and when you switch to another image, Windows Photo Gallery will save your changes to the picture.
Here's a sample of what it can do:
| Obverse Before | Obverse After |
 |  |
| Reverse Before | Reverse After |
 |  |
I'm sure many of you were already aware of this feature as I've been using it for the last year, but I was recently inspired to write this blurb up. I'm told that Windows 7 comes with a limited version of Windows Photo Gallery but the easy editing features can be downloaded for free as Windows Live Photo Gallery.
Special thanks go eBay seller foundtreasures2010 for allowing me to tinker with and use his photos. You can find the actual coin pictured here:1 Bolivar on eBay


